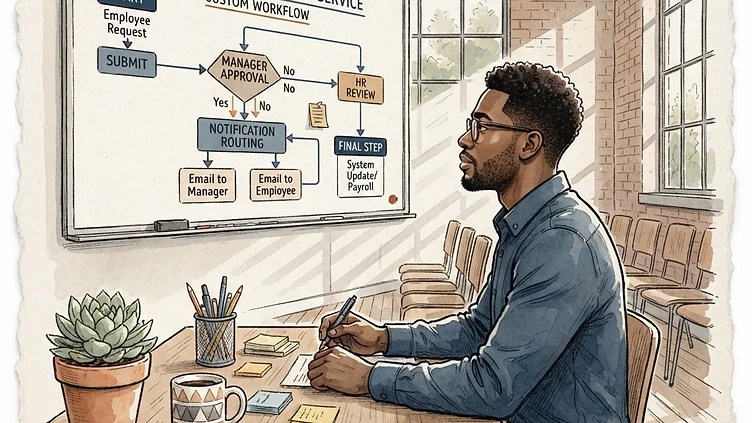
Configuring Dayforce custom workflows for employee self-service is where most mid-market Dayforce environments fall short — not because the module is weak, but because it's configured for an org chart that no longer reflects reality. Approval chains route to the wrong managers. Notification rules are either too noisy or completely silent. Self-service tasks that HR expects employees to complete live in a part of the portal nobody visits. This guide covers how to get the configuration right, including the mistakes that make custom workflows fail silently.
The goal of a Dayforce employee self-service configuration is straightforward: reduce the volume of routine HR requests hitting your team while giving employees and managers accurate, real-time access to their own data. When it's configured correctly, the HR help desk gets quieter. When it's not, you end up with a self-service portal that's technically live but functionally ignored — and a team still fielding the same calls they fieldged before the system went in.
What Dayforce custom workflows can do
Before getting into configuration, it helps to understand what the custom workflow engine in Dayforce actually supports. The workflow builder lets you chain together a sequence of approval steps, assign them to specific roles or individuals, and trigger notifications at defined transition points. The trigger types include:
-
Self-service submissions — an employee submits a time-off request, a personal information update, a benefits election change, or a direct deposit change
-
Manager-initiated actions — a manager submits a job data change, a performance note, or a compensation adjustment that requires HR sign-off
-
System events — a threshold is crossed (e.g., overtime hours exceed a set limit), a certification expires, or a probationary period ends
Each workflow type has different configuration requirements and different failure modes. The time-off request workflow is the most commonly deployed and most commonly misconfigured — so it's the most useful example to walk through in detail.
Setting up a custom time-off request approval chain
A basic time-off request workflow has three components: the employee submission form, the approval routing, and the notification rules. Most Dayforce implementations handle the form correctly. The routing and notification configuration is where problems accumulate.
The approval routing configuration
Go to Dayforce HCM → Configuration → Self-Service → Workflow Configuration. Create a new workflow and set the trigger to Time-Off Request. The routing rules determine which manager receives the request — and this is where Dayforce defaults often don't match actual organizational structures.
The default routing uses the employee's position hierarchy to identify the approving manager. This works when the org chart in Dayforce reflects reporting relationships accurately — and it fails completely when it doesn't. If your actual organization has dotted-line managers, project-based reporting, or department heads who approve for multiple teams, the position hierarchy routing will route to the wrong person until you configure override rules.
Configure the routing in this order:
Need hands-on help with Dayforce?
Talk to our team →-
Set the primary routing rule — Dayforce should pull the employee's configured manager from the position hierarchy. Verify this before adding anything else.
-
Add delegation rules — for managers who are out of office, configure delegation to a designated backup approver. Set the delegation start and end dates explicitly. Don't rely on manual re-routing while someone is on leave.
-
Configure escalation rules — if an approval isn't acted on within a defined window (typically 24 or 48 hours), the workflow should escalate to the next level in the chain. Without an escalation rule, requests sit unapproved indefinitely when managers are busy.
-
Add conditional routing — for requests that exceed certain thresholds (more than five consecutive days off, leave during a blackout period, a type of leave that requires HR review), add a condition that routes to HR before routing to the manager.
Notification rules that actually work
Dayforce notification configuration lives in Configuration → Self-Service → Notification Rules. The defaults tend toward too much noise or too little signal. Find the balance by configuring four distinct notification triggers:
Request submitted. Employee receives confirmation that the request was submitted and routed. This should be immediate — not delayed, not batched. Employees submitting a request want to know it was received.
Request pending approval. Manager receives notification that a request requires their action. Set this to immediate for requests that are time-sensitive (same-day or next-day leave). For standard requests, immediate notification is still better — the manager can act when they see it rather than forgetting.
Request approved or denied. Employee receives notification of the outcome. Include the approver's name and any notes in the notification. A generic approval notification with no context feels automated in the wrong way.
Request escalated. The escalation recipient receives notification. If a request escalates from a manager to an HR admin, both the manager and the escalation recipient should be notified — the manager so they're aware their inbox was bypassed, the escalation recipient so they know they have an action item.
Do not batch these notifications. The moment a workflow transitions is the moment the notification should fire. Batch processing of approval notifications means managers open their inbox to find ten requests from the past week, none of which they remember initiating.
Common configuration mistakes that tank adoption
Struggling with Dayforce Consulting?
Harmon & Co specializes in Dayforce consulting for mid-market companies. We fix it the first time — no endless ticket queue, no generic advice.